Furiosa CRM counts the visits, sign-ups and ticket clicks on your pages itself, then sends them to your ad platforms from our servers. Your ads get the conversions they need to find more fans, even when a browser blocks pixels.
What first-party tracking is
A normal ad pixel runs in the visitor's browser. Ad blockers, Safari's tracking protection and lost connections stop many of those events from ever reaching Meta or Google. First-party tracking works differently:
- It runs on your own web address. Events are counted on the same address as your page, so browsers treat them as part of your site.
- It is sent server to server. Our servers send each event straight to the ad platform's own conversions service, so a blocked browser script doesn't lose it.
- Nothing is counted twice. Each event carries one event ID, and the same ID goes to every destination and to any browser pixel on the page. The platforms match them and keep one.
- Bots are kept out. Known bots and crawlers are filtered before anything is sent.
- Personal details are hashed. Emails and phone numbers are scrambled one way (SHA-256) before they leave our servers, as the platforms require.
- It follows cookie consent. If a visitor refuses marketing cookies in the page's cookie banner, their visit is not sent to ad platforms.
What gets tracked
- Page views: every visit to a page.
- Sign-ups: sent as a lead when someone completes the form.
- Ticket clicks: when a fan clicks a ticket button. You can send one event per ticket seller (for example a separate event for Skiddle clicks) or send every ticket click as a checkout.
Ad click IDs such as Meta's fbclid are kept with the visit, so the platform can tie the sign-up back to the ad that brought it.
Where events go
You can send the same events to any of these destinations at once. They are all treated the same way:
- Meta Conversions API
- Google Ads enhanced conversions
- Google Analytics 4 (Measurement Protocol)
- TikTok Events API
- Snapchat Conversions API
- X (Twitter) conversions
- This CRM, so the same counts appear in your page Stats and event results
Custom pages are tracked from day one
When Furiosa makes a custom page for you, tracking is one of the creation steps. The page picks up your account's tracking defaults, so it sends events from the moment it goes live. You don't need to paste any code. Custom page tracking is managed by the Furiosa team, so send us a message if you want a pixel added or changed.
A page's tracking view shows whether tracking is working, how many events were sent, and each delivery, so you can check your ads are getting their conversions.
Adding a pixel to an event page
On your own event pages you add pixels yourself:
- Open the page and click Design & Setup.
- Click Tracking and Messages, then scroll to Tracking.
- Click Add a pixel.
- Pick the platform: Meta, TikTok, Snapchat or Google.
- Paste the pixel ID. The screen tells you where to find it, for example in Meta Events Manager under Data Sources.
- Paste the access token if you have one. With a token, events also go server to server through the platform's conversions API.
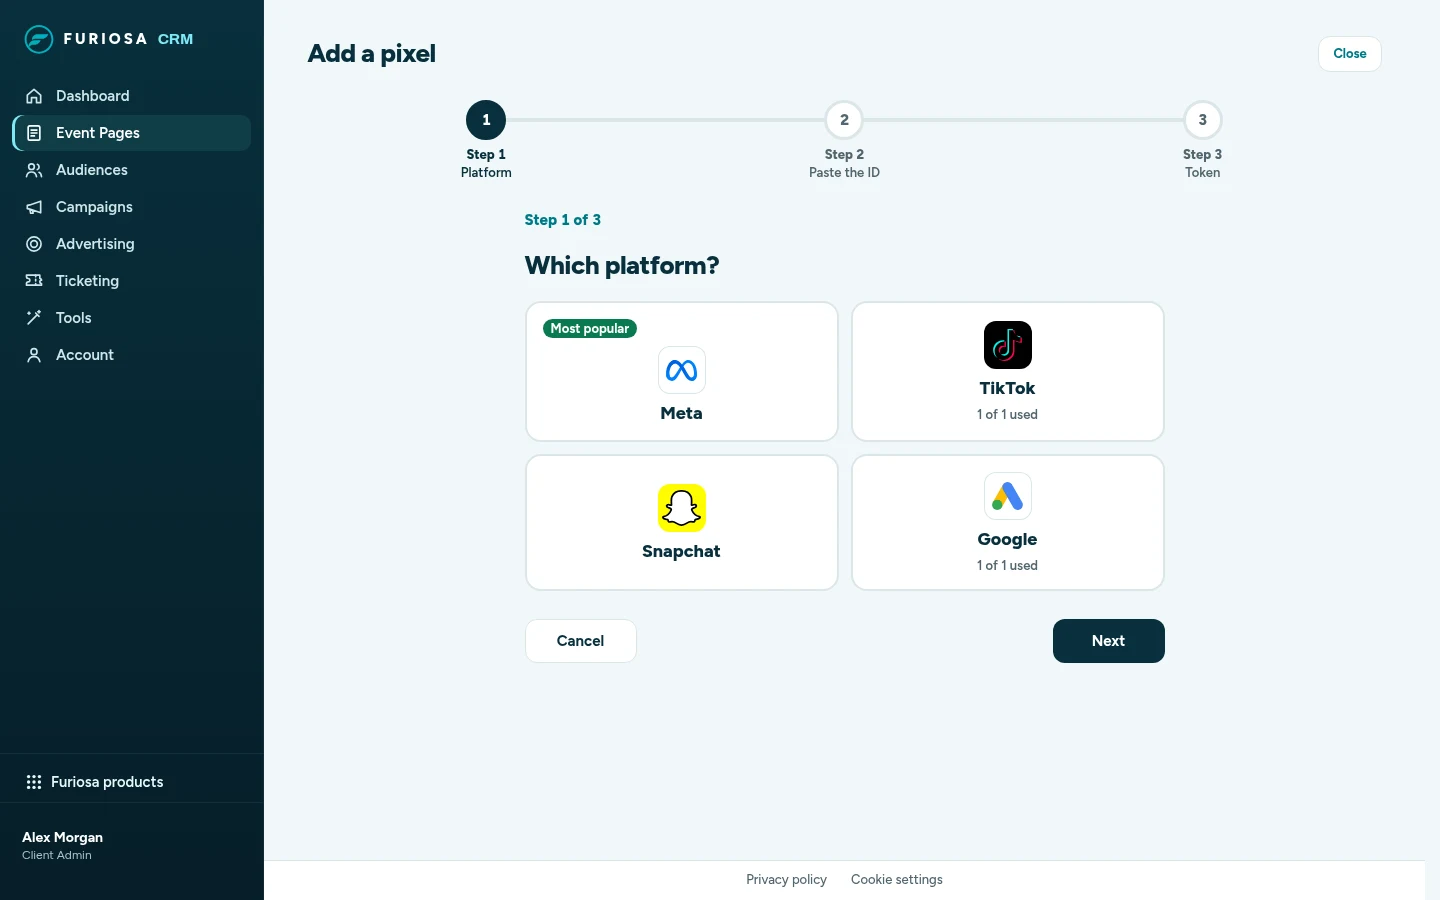
The Tracking section then shows one card per platform, with each pixel's ID and whether it has a token. Use Edit or Remove on a pixel. An event page can have two Meta pixels (useful when an agency runs your ads too), one TikTok pixel and one Google tag, plus Snapchat.
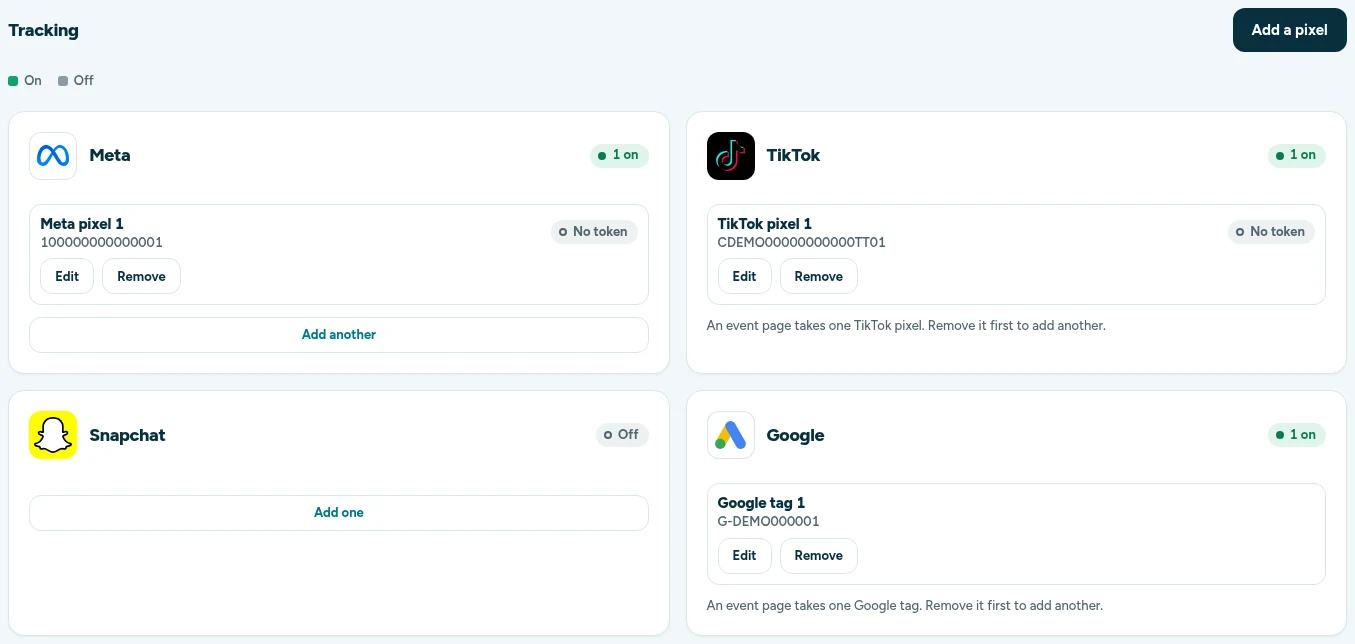
The Tracking section
Click Tracking in the sidebar to see tracking across your whole account. It has four views:
- Overview: how many events were sent, the share delivered, the visits ad blockers would have hidden, the bots kept out, and where events went.
- Pages & sites: every page and website that sends events, with its destinations.
- Deliveries: the delivery log (see below).
- Defaults: the destinations and settings new pages start with. Set them once and every new page picks them up.
The delivery log
Deliveries shows one row per event, with one dot per destination. A green dot means the platform accepted it. If a platform doesn't answer or returns an error, we try again after 30 seconds, then 60, then 120. Tick Failed only to see just the events that didn't get through, and open a row to read exactly what each platform answered.
Tracking your own website
You can track your own website the same way:
- In Tracking > Pages & sites, add your website and copy the code it gives you.
- Paste the code once into the
<head>of every page of your site. - Set up your own tracking address, such as
t.yourdomain.com, by adding the CNAME record the screen shows at your DNS provider. Events then come from your own domain. - If your site has its own forms, call
identify()with the person's email or phone when they submit, andtrack()for any other action you want to count. - Use a platform's test event code to check events arrive, for example in Meta Events Manager's Test events tab, then remove it.
Pixels and connected ad accounts
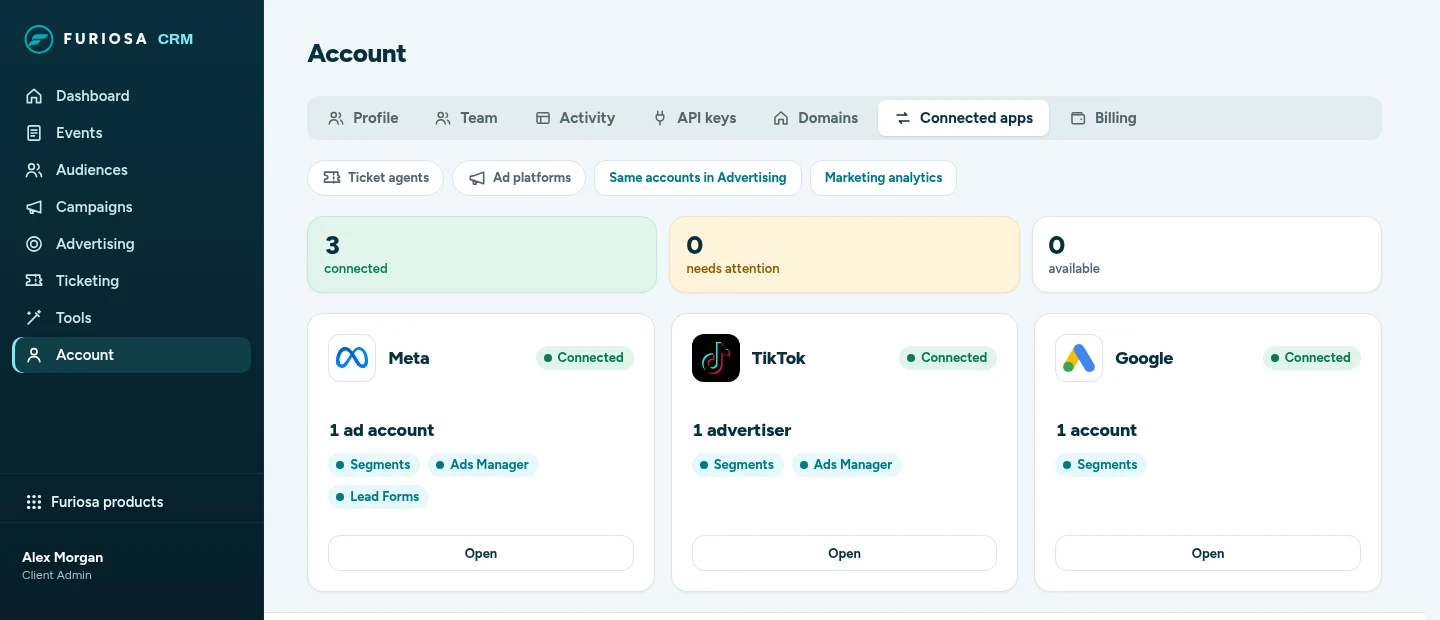
Pixels send conversions. Connecting an ad account is separate: it lets you push segments to the platform, run ads from Advertising and pull in lead forms. Connect ad accounts under Account > Connected apps > Ad platforms.